


For our first recipe of 2014, I thought it would be appropriate to showcase a specimen of my very favoritest favorite dessert, cookies! My original plan had been to get this posted before Thanksgiving since they’re kinda autumn-y, but then time slid away from me. So then I thought I’d post it in December since a lot of people make cookies for Christmas (ask Susan about her Christmas cookie sweatshop some time), but that darn time slid away again and next thing I knew, it was January! So here we are at last with my recipe for kabocha chocolate chip cookies. Better late than never?
I came up with the idea for this recipe while I was living in Japan as an English teacher. For a taste of home one November, some other English teachers in the area and I decided to have a Thanksgiving potluck. However, some traditional Thanksgiving treats are challenging to make in Japan due to ingredients that aren’t available, available ones that are a little unfamiliar, and the fact that most people don’t have ovens of the kind that Westerners are used to in their homes. One of my favorite things about Thanksgiving is anything involving pumpkin, and I became acquainted with its cousin the kabocha squash during my tenure in Japan. Similar in taste and texture, I thought it would be tasty to incorporate it into a chocolate chip cookie and that it would be a nice Japanese-inspired riff on pumpkin pie to take to our little Thanksgiving dinner. Looking back now, I can’t remember how I baked them—I know for sure I didn’t have an oven in my apartment. I think maybe I discovered that my microwave had a function that made it double as an oven? Or I borrowed my neighbor’s? However I ended up cooking them, I started in the morning and made them in small batches until I had enough to take over to the festivities that evening.
I used this recipe from Allrecipes.com as the base from which I worked to create my own interpretation, subbing in kabocha for the usual canned pumpkin and adding my favorite autumnal spices, along with some other adjustments. The use of a lot of vegetable oil instead of butter results in a dense, cake-like cookie with a nice hint of the kabocha flavor. I used walnuts because that’s what I had in my house when I decided this would be a good blog post candidate (same for why I used the hacked up baking chocolate that you’ll see in the pictures—I thought it’d be better to use up what I had on hand rather than buy chocolate chips), but I think using pecans instead could add to the decadence. Alter the spices to your tastes, and you can always use normal canned pumpkin if you can’t track down a kabocha!
Kabocha Chocolate Chip Cookies

Ingredients:
1 kabocha squash
3/4 C. white sugar
1/4 C. brown sugar
1/2 C. vegetable oil
1 egg
1 Tbsp. vanilla
2 C. flour
2 tsp. baking powder
2 tsp. ground cinnamon
1/2 tsp. ginger
1/4 tsp. allspice
1/4 tsp. cloves
1/2 tsp. salt
1 tsp. baking soda
1 tsp. milk
2 C. semisweet chocolate chips
1/2 C. chopped walnuts
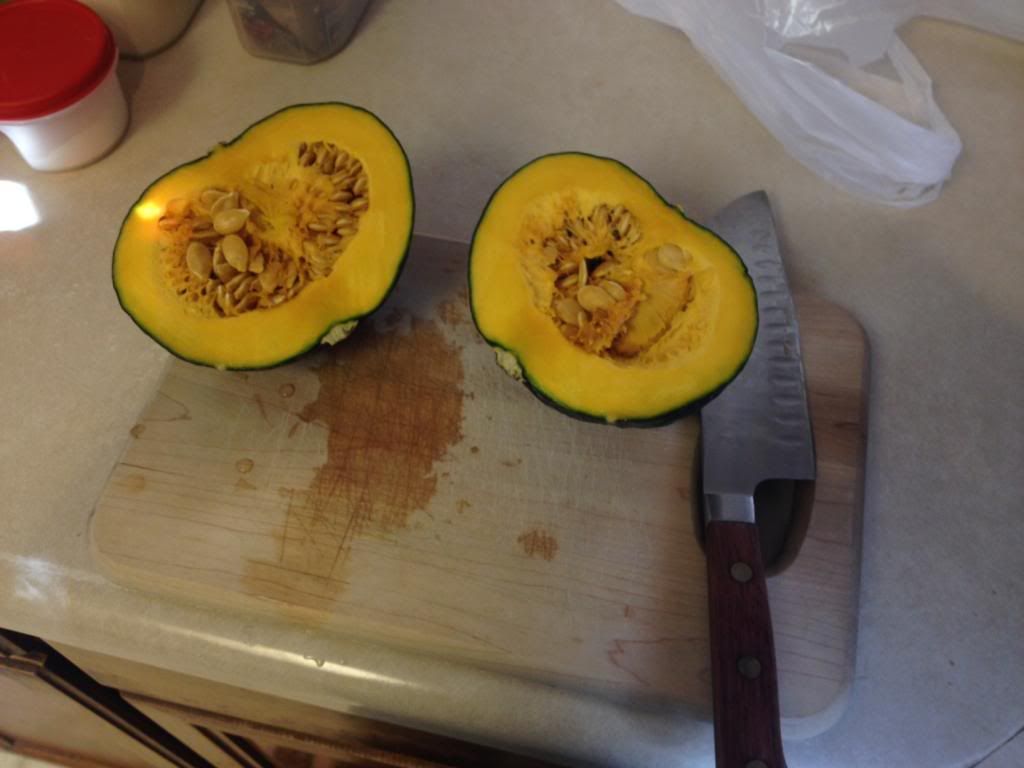
- See that photo up there? That’s a kabocha, a kind of Asian winter squash that is sweet and reminiscent of the pumpkin that we enjoy in pie and for jack o’ lanterns in North America. Since I hain’t never seen no such thing as canned kabocha, we’re going to have to make our own kabocha mush the hard way. Don’t worry, it’s easier than it sounds!
- First things first—you need a kabocha. I got mine at the local Asian market, but Whole Foods seems like another likely purveyor of this veggie. The kabocha’s skin is edible (and full of nutrients), but I didn’t really want that texture in my cookies, so we will be peeling it off eventually. Even so, give it a good scrubbing before you cut it in half, like so:
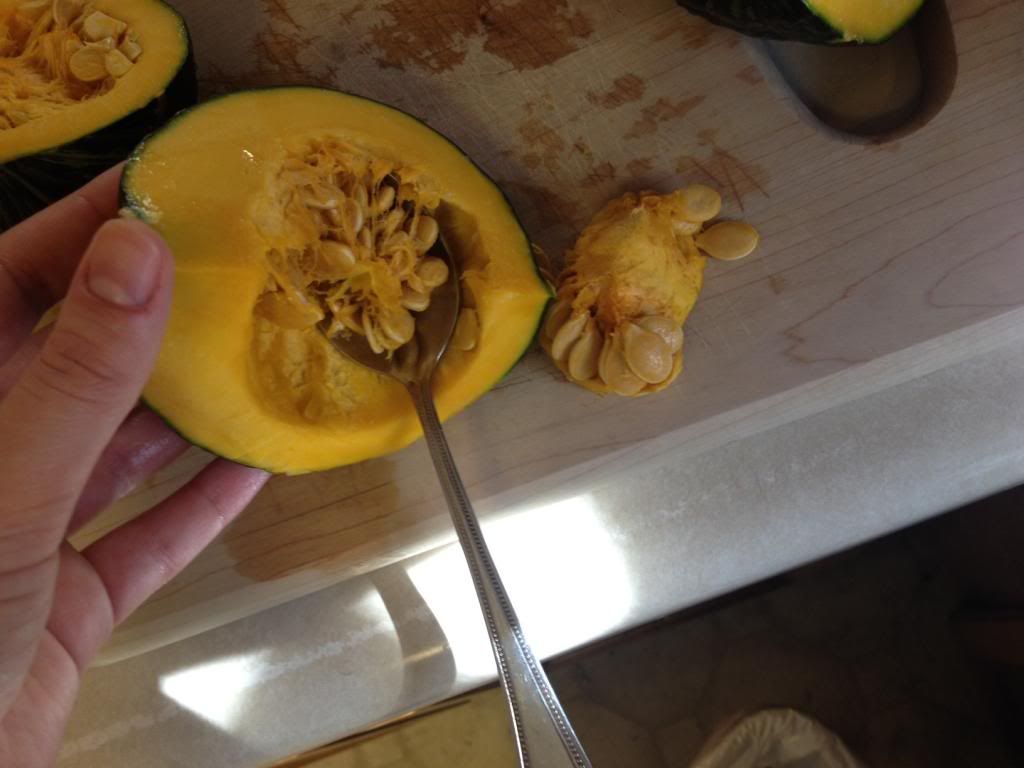
- Cut each half in half again. Now, we want to get all the seeds and goop out of the middle. Take a spoon, scrape it along the inside of the kabocha, and scoop out the gunk until all the stringy stuff and seeds are gone. You can save the seeds to bake as a snack if you want!
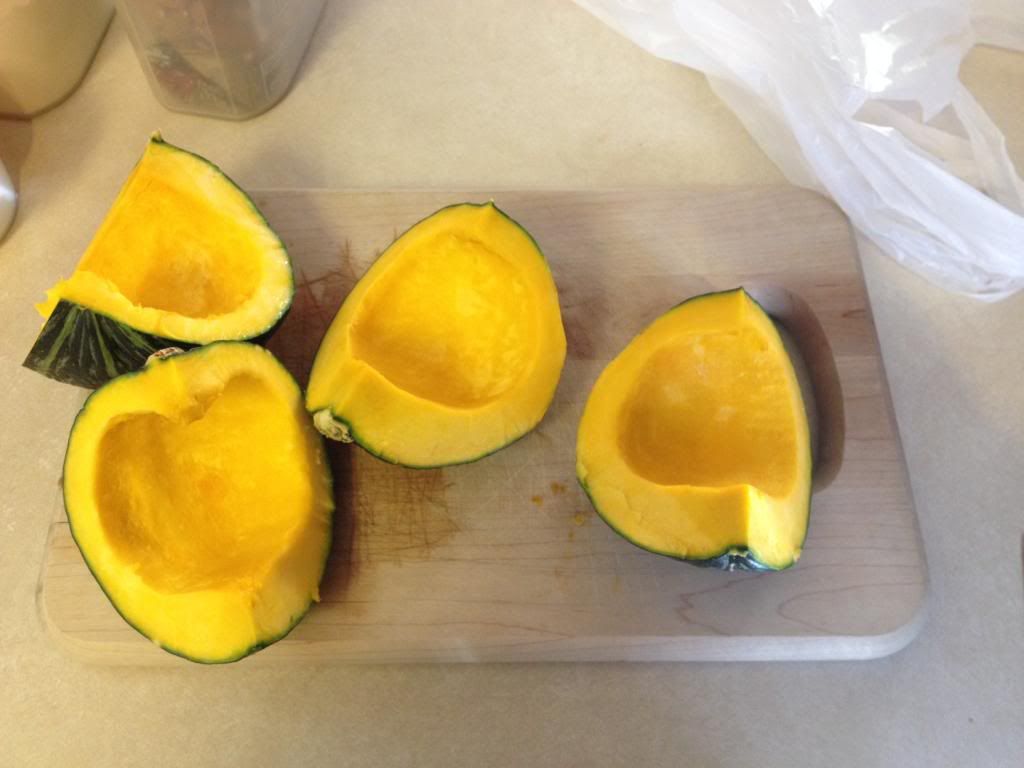
Your hollowed out kabocha quarters should now look something like this:
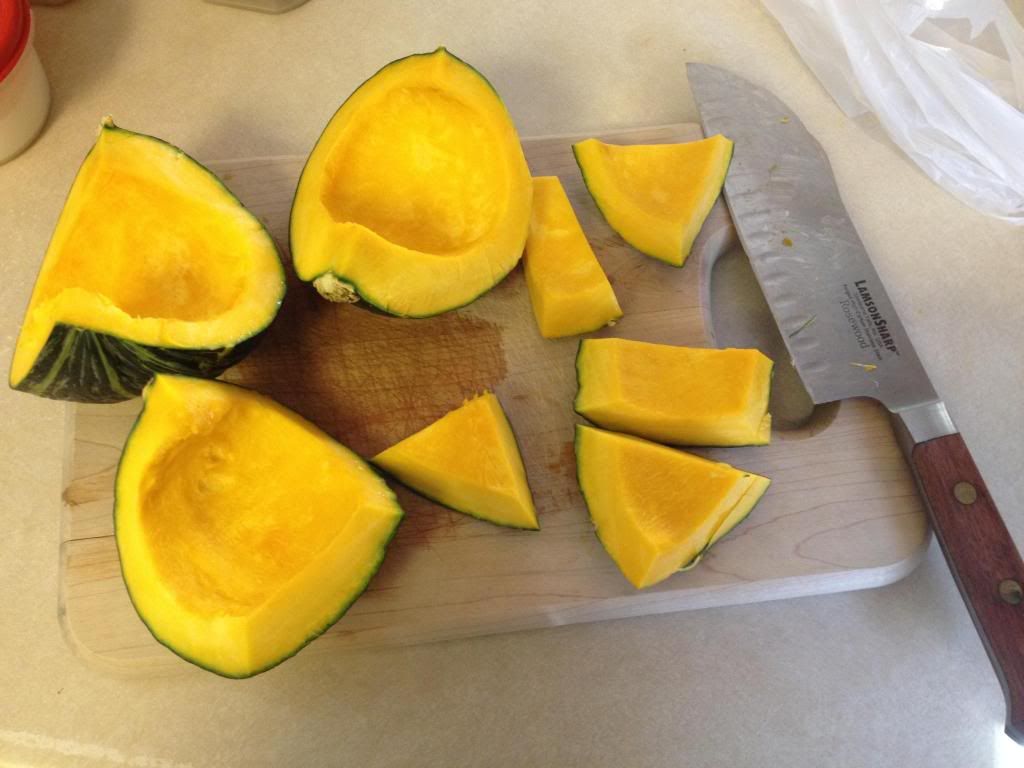
- We are going to steam the kabocha, so cut it into smaller chunks to help it soften up faster.
- On to the steaming! Add about an inch of water to a saucepan, and then place the steaming thingy on top. Add the kabocha pieces until the basket is full, leaving enough space for the lid to fit on. Heat on the stove on medium high and steam the kabocha for about 15 minutes, or until it’s soft when you stick a fork in the orange part.
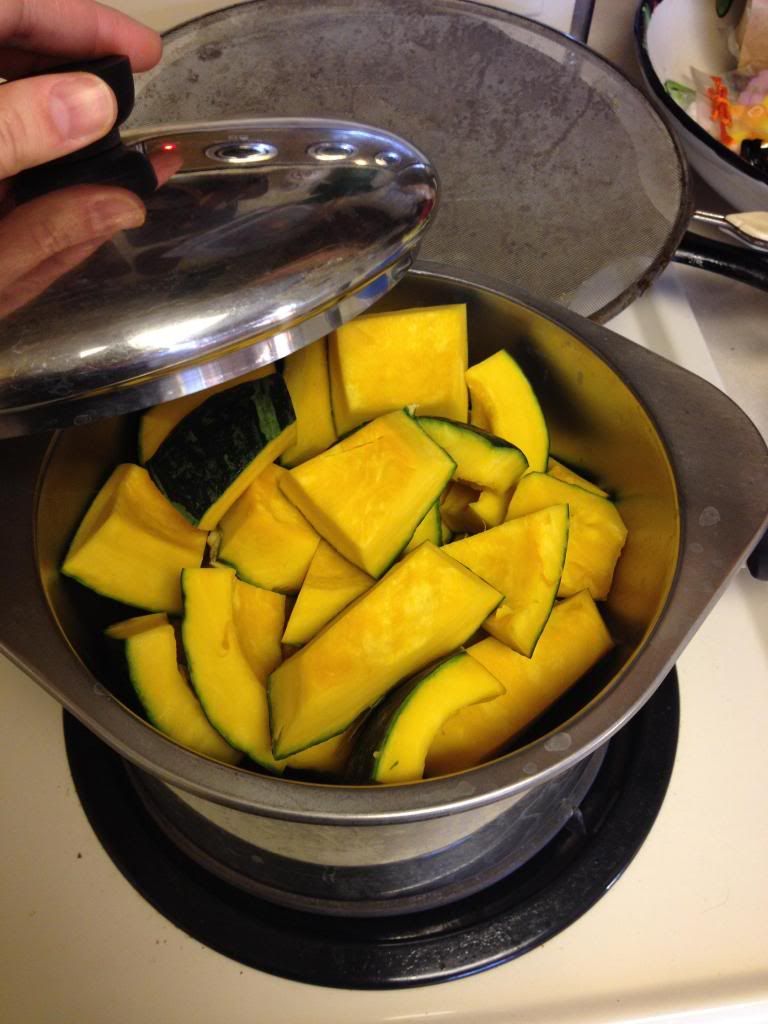
Before!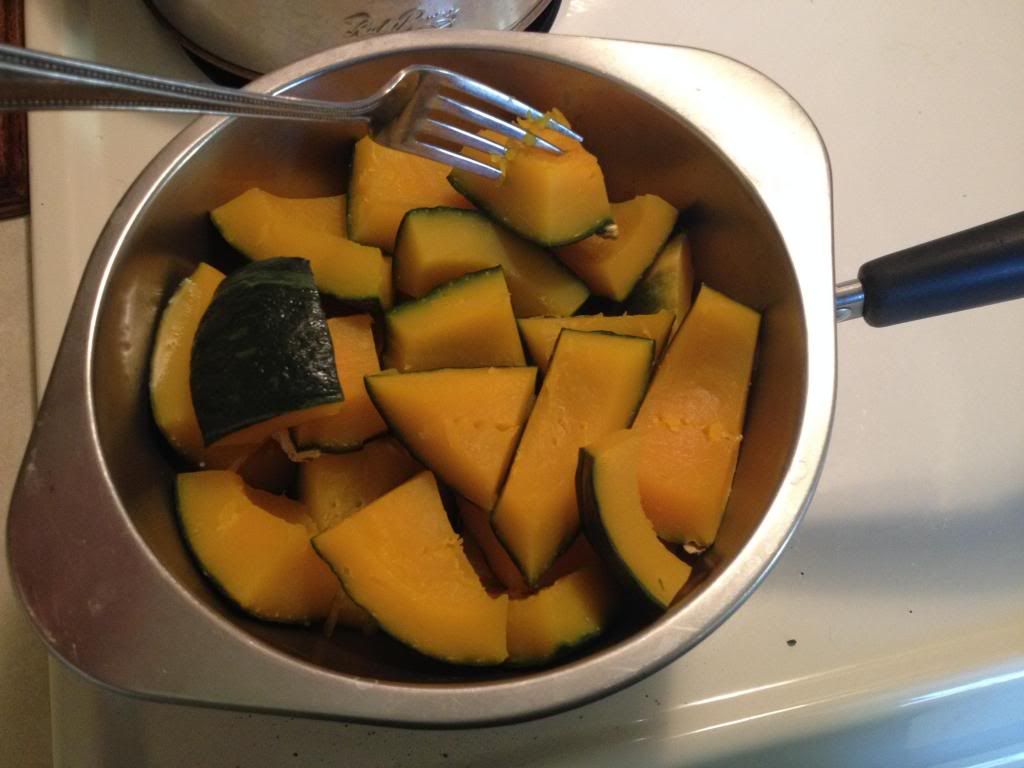
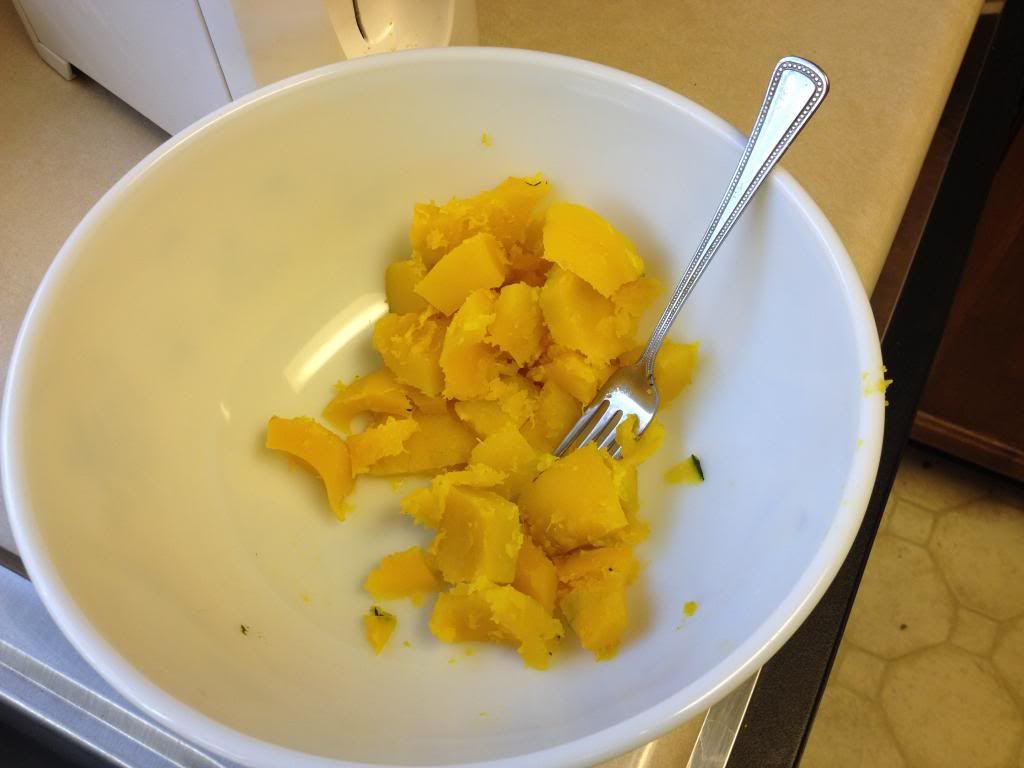
After! - After it has cooled enough for you to be able to handle it, use a spoon to burrow under the edge of the green skin and remove it. Toss the orange part into a bowl and mash it up with a fork until a soft, smooth consistency is achieved. You’ll want about 1 cup of this.

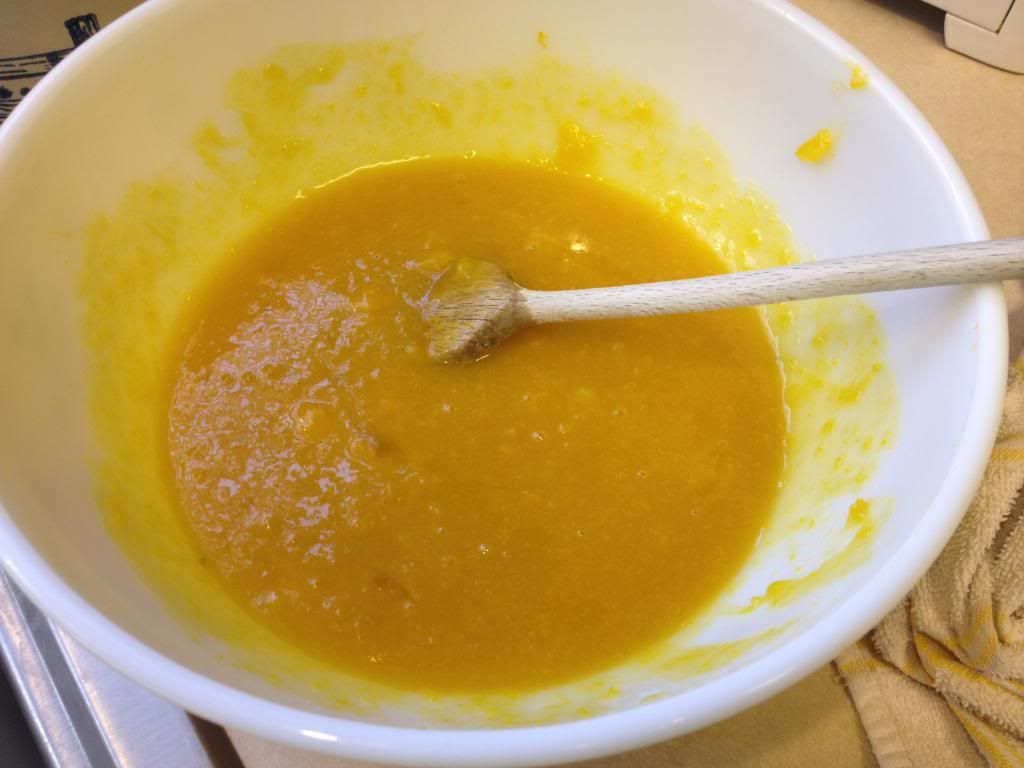
- Next, add the sugars, vegetable oil, vanilla, and egg to the bowl with the mashed up kabocha.
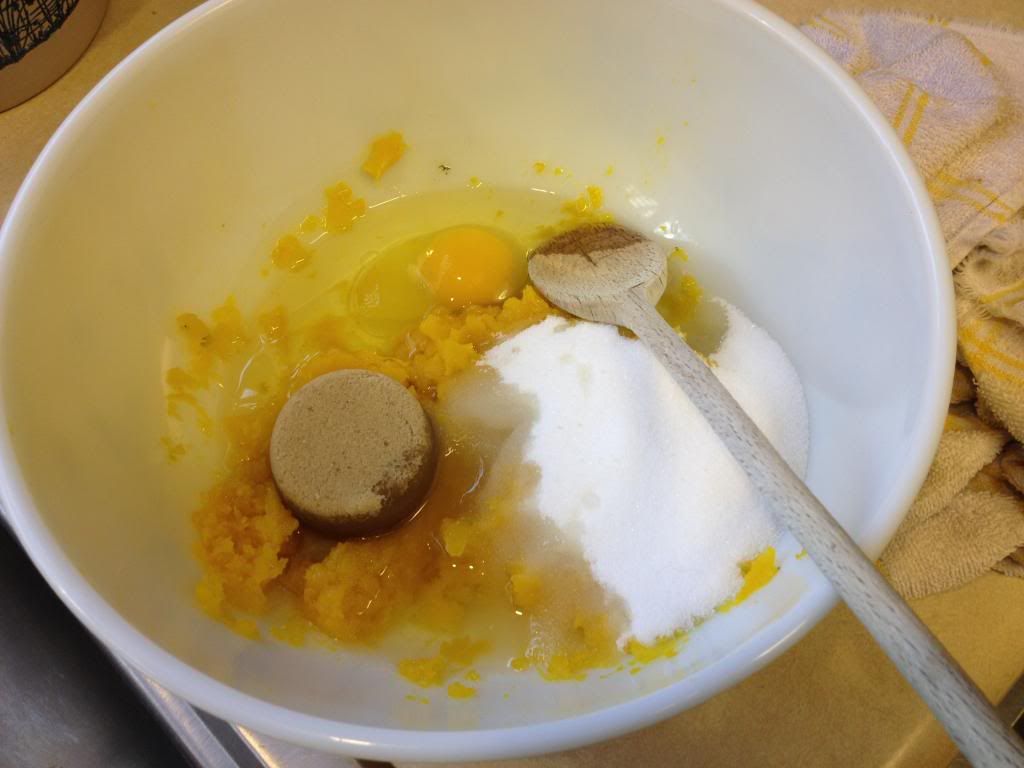
- Stir to combine.
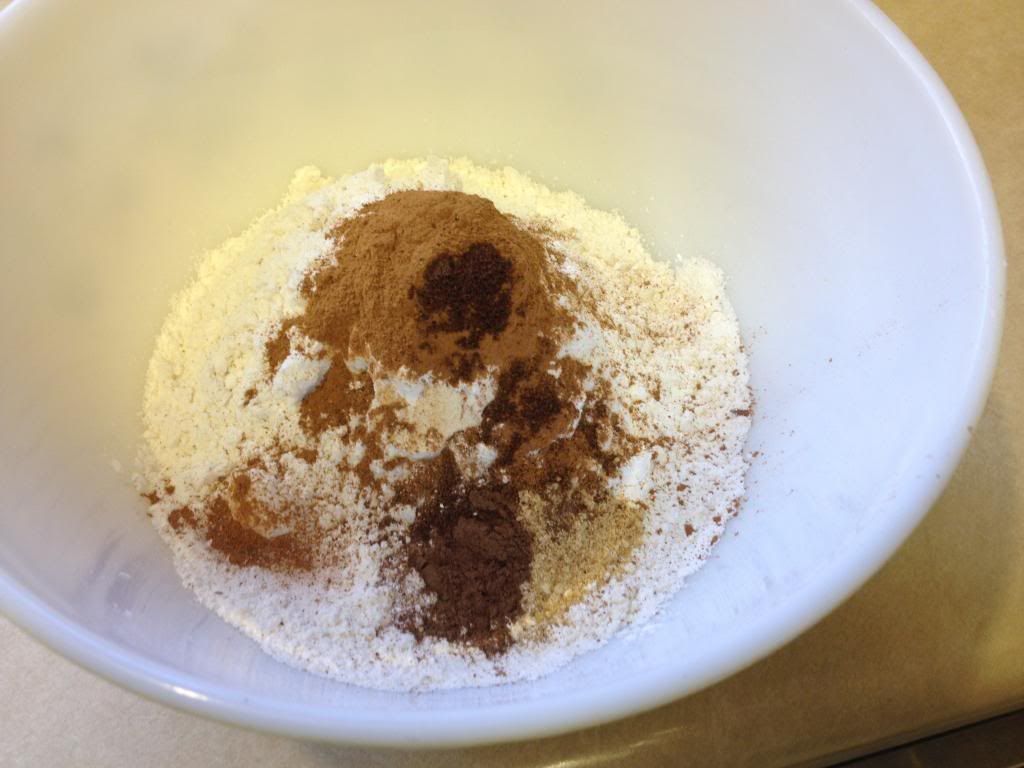
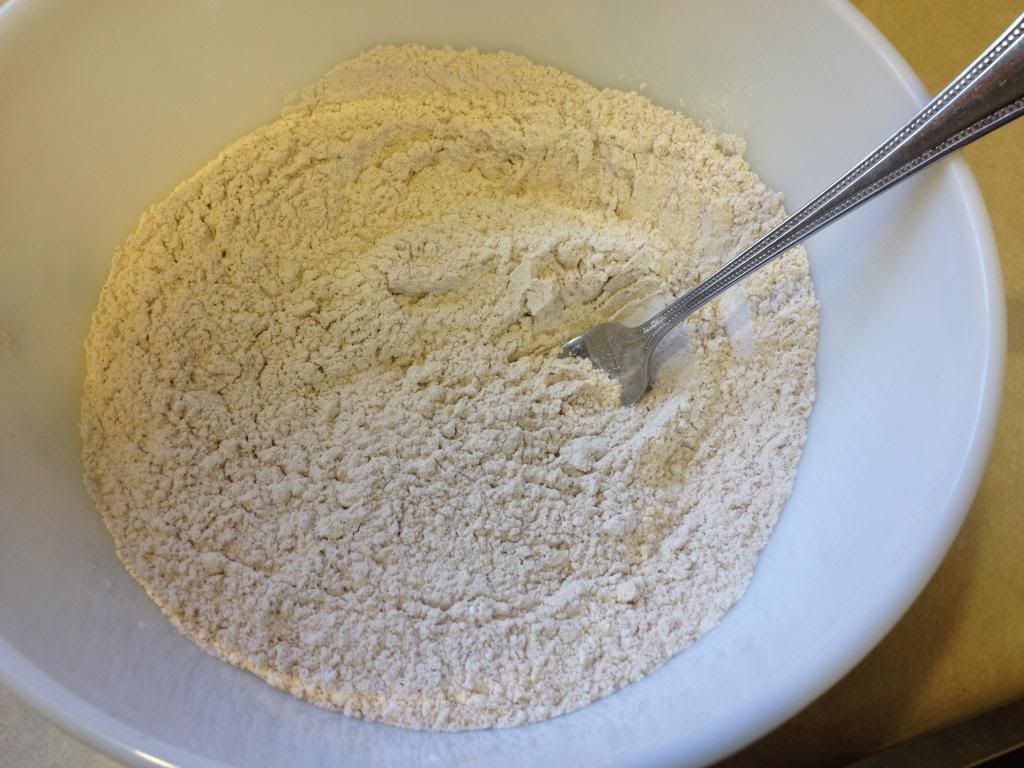
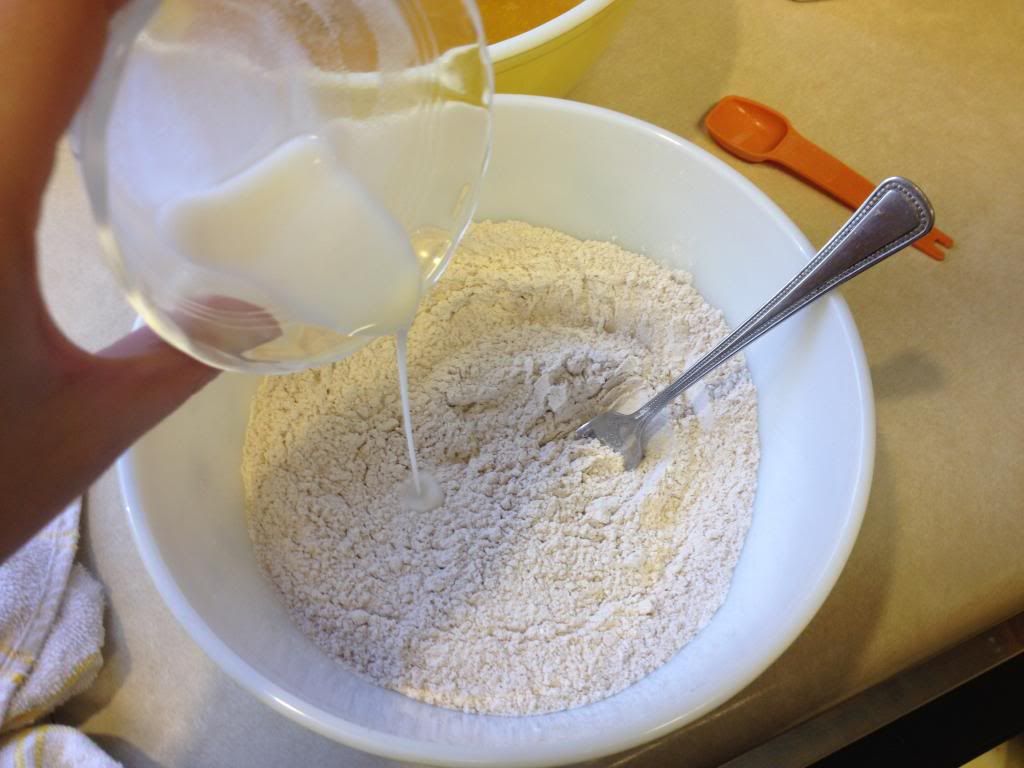
- Put the flour, baking powder, spices, and salt into another bowl and stir together.
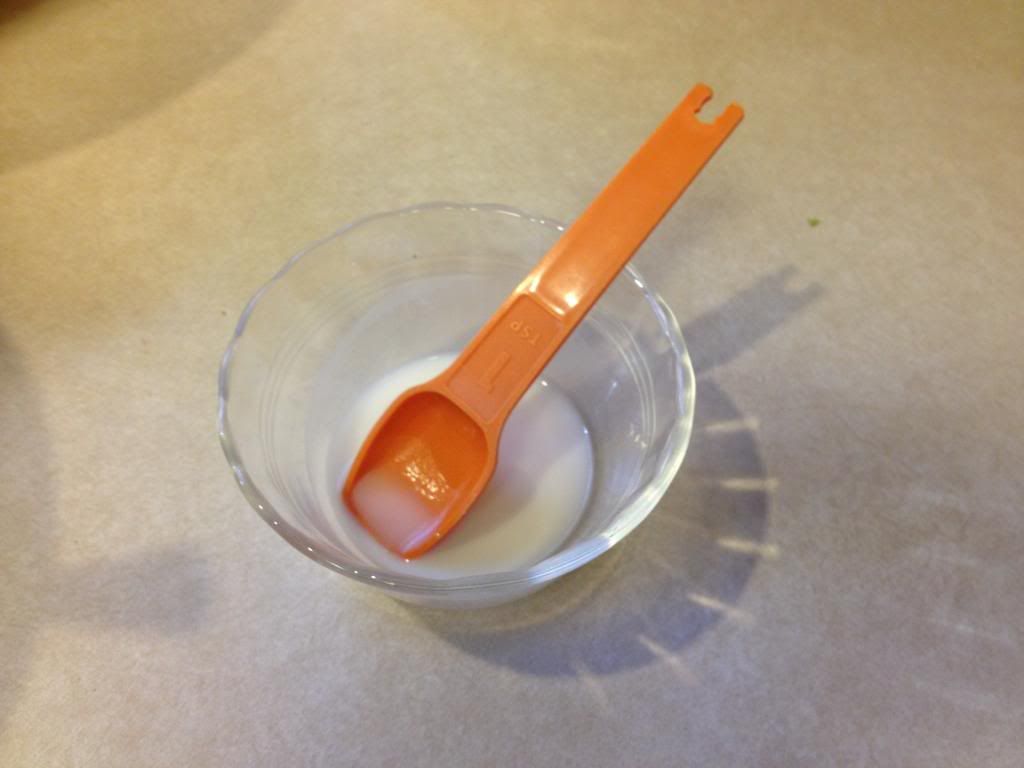
- In a small bowl, dissolve the baking soda with the milk. (This is something retained from the Allrecipes.com recipe—not sure of the purpose of this step. If you have any ideas, please enlighten me!) Once it’s dissolved, stir the solution in with the dry ingredients.
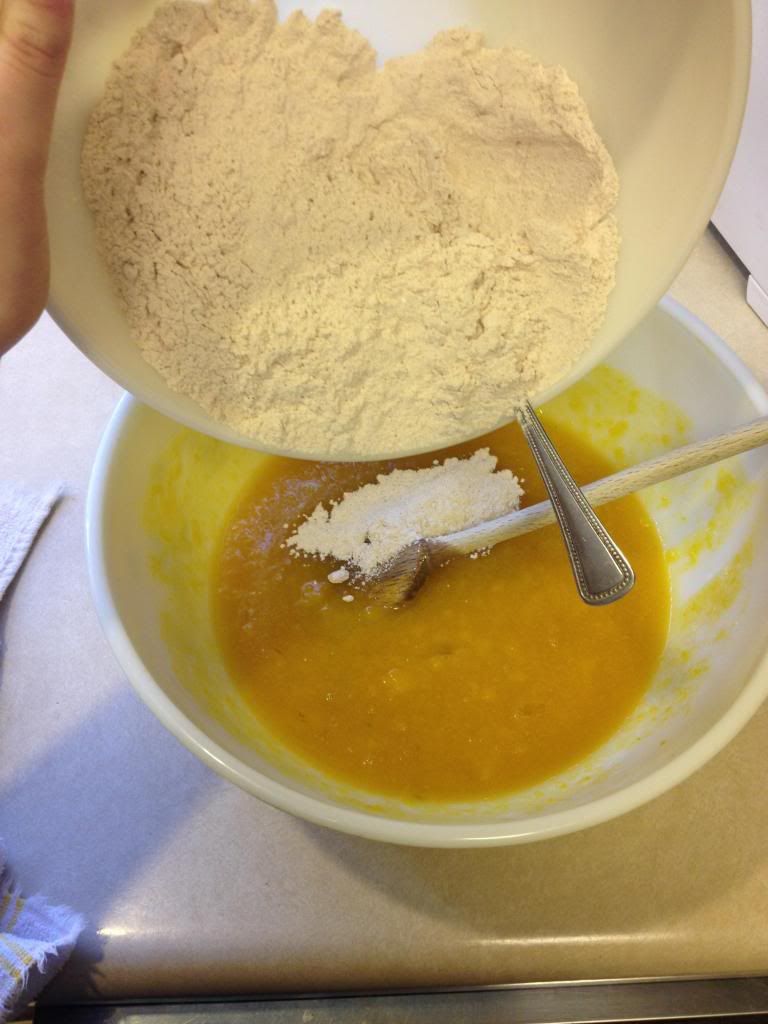
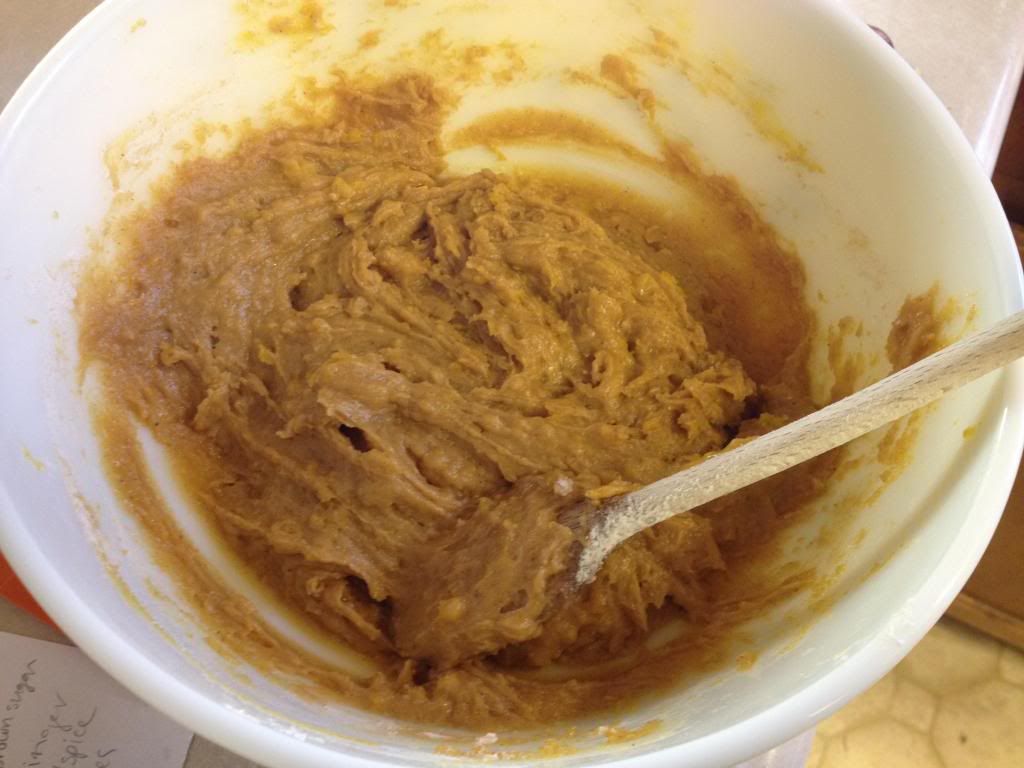
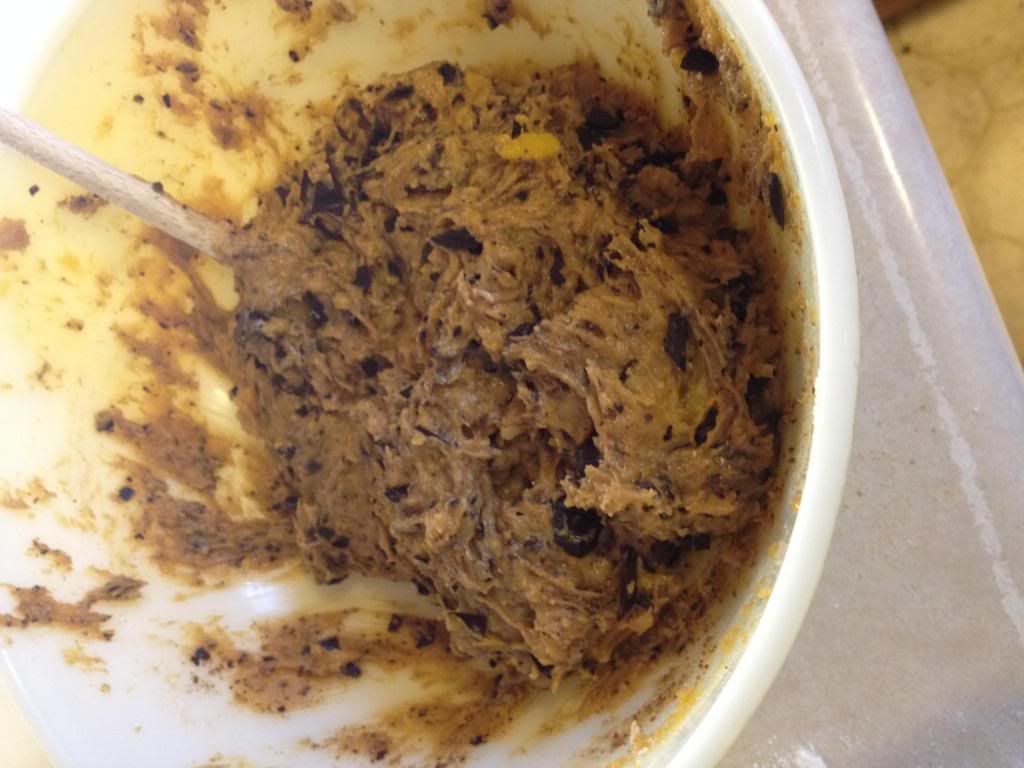
- Add the flour mixture to the bowl with the pumpkin mixture and mix until combined.
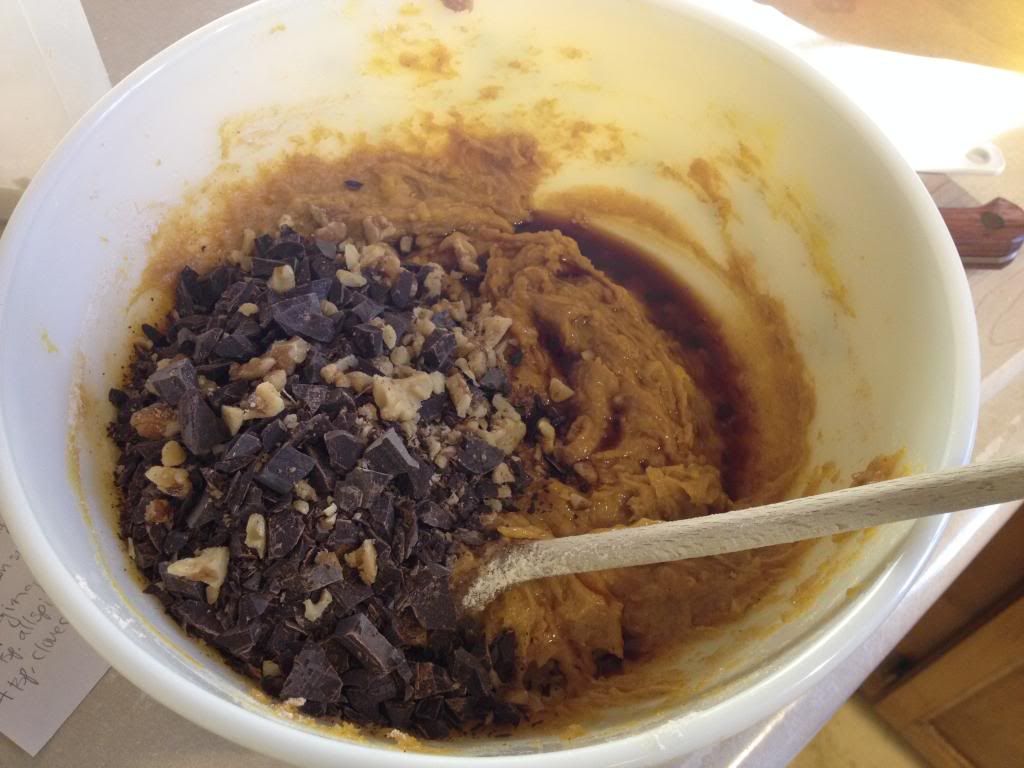
- Stir in the chocolate chips and walnuts until they are evenly distributed in the dough.
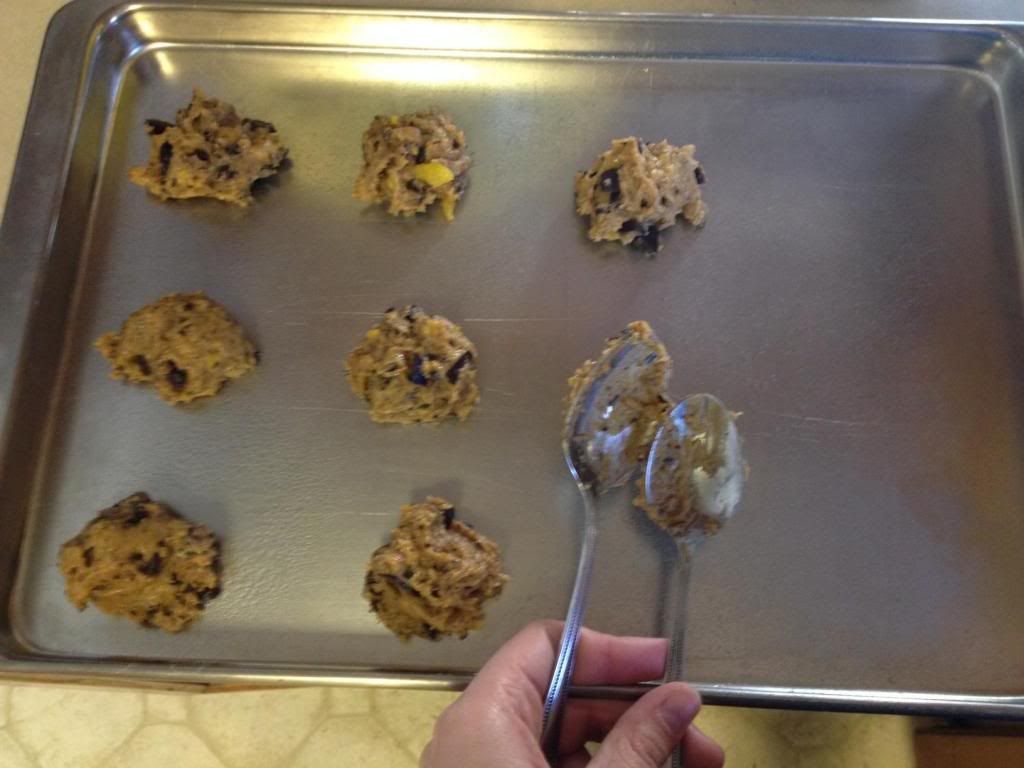
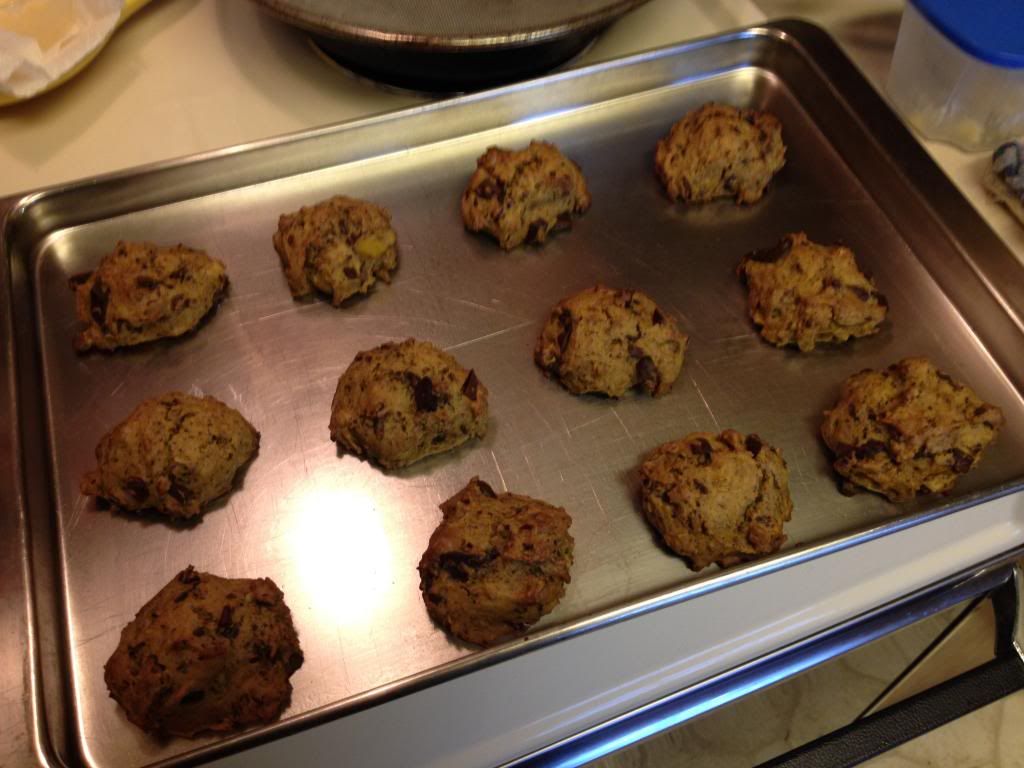
- Drop by teaspoonful on a greased or cooking sprayed cookie sheet, then bake at 350° F for about 10 minutes, or until firm and lightly brown around the edges.
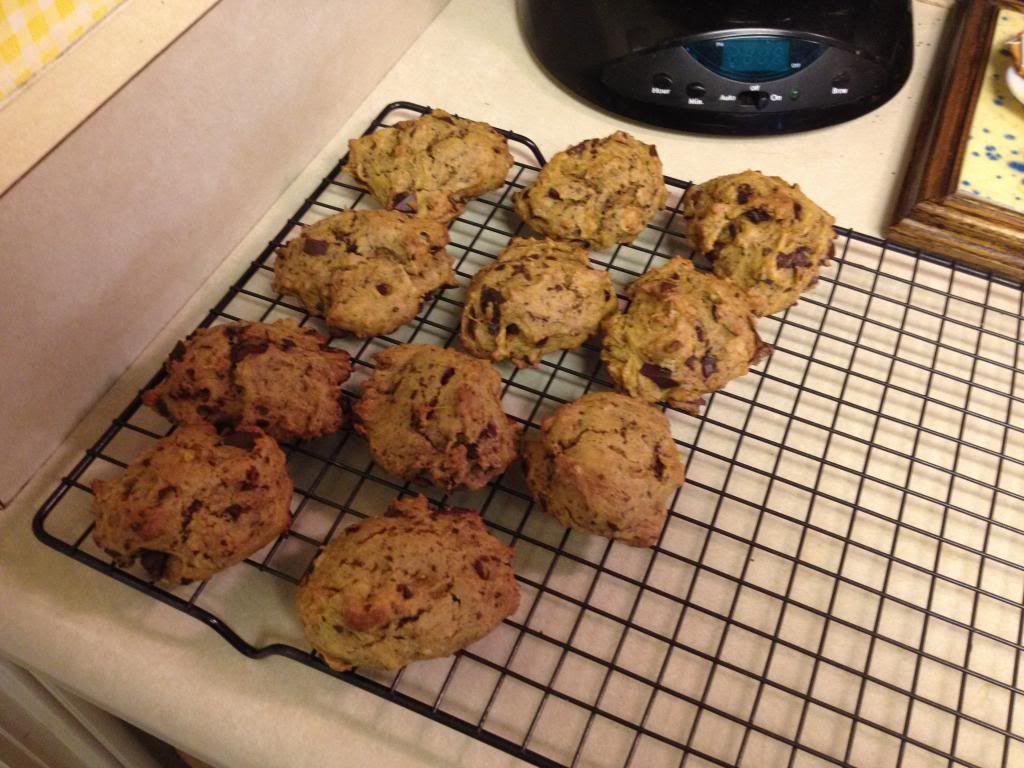
- Immediately transfer the cookies to a cooling rack. When they are no longer finger-scaldingly hot, enjoy them with a tall glass of milk. Yum!


I do indeed love me some cookies! What are your favorite varieties? Anything you’d like to see us try our hand at on the blog? Hit up the comments and let us know, and happy eating in the new year!
No comments:
Post a Comment