


Ingredients:
3/4 C. all-purpose flour
3/4 C. whole wheat flour
1/2 tsp. baking soda
1/2 tsp. salt
1/4 tsp. baking powder
1 tsp. ground cinnamon
1/4 tsp. ground nutmeg
1/4 tsp. ground allspice
1/8 tsp. ground ginger
2/3 C. chopped walnuts
1 egg
1 C. sugar
1-1 1/2 C. shredded zucchini
1/4 C. cooking oil
1/2 tsp. vanilla
- Preheat the oven to 350 ° F.
- Meanwhile, we can toast! Heat a frying pan over medium heat, and dump in the chopped walnuts. Stir frequently so they heat evenly and don’t burn. When they start to smell delicious and toasty, take them off the stove and transfer them from the pan to another container.
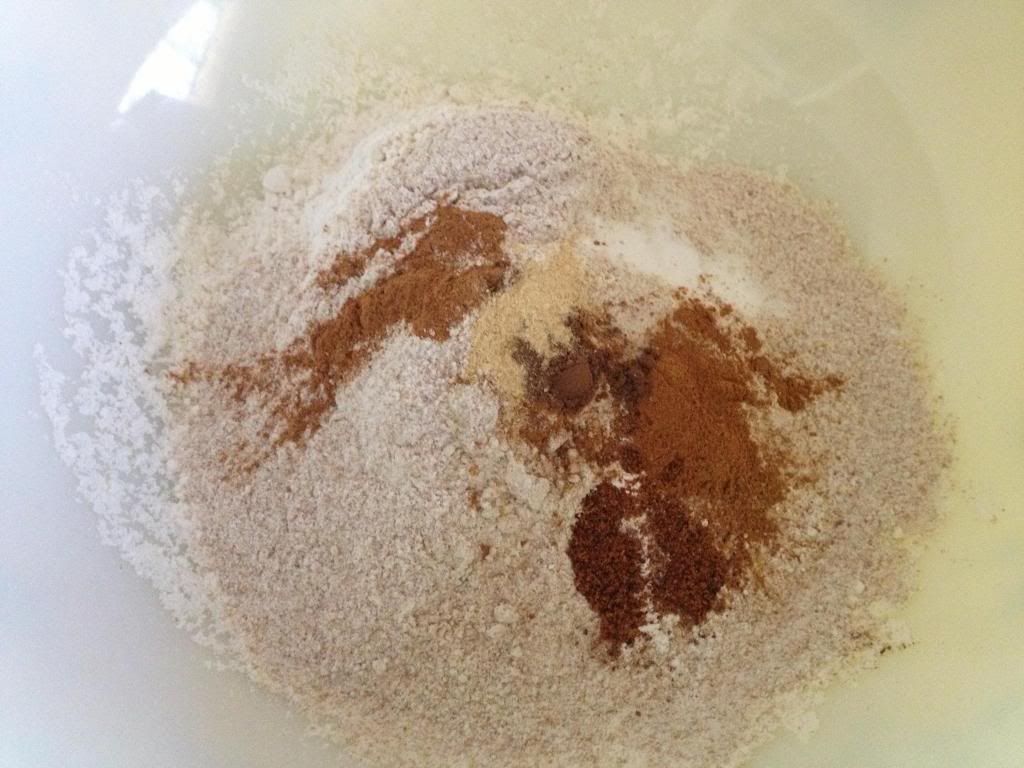
- In a large bowl, combine the two flours, baking soda, salt, baking powder, and spices. Stir with a wooden spoon until well mixed up, with the spices evenly dispersed in throughout.
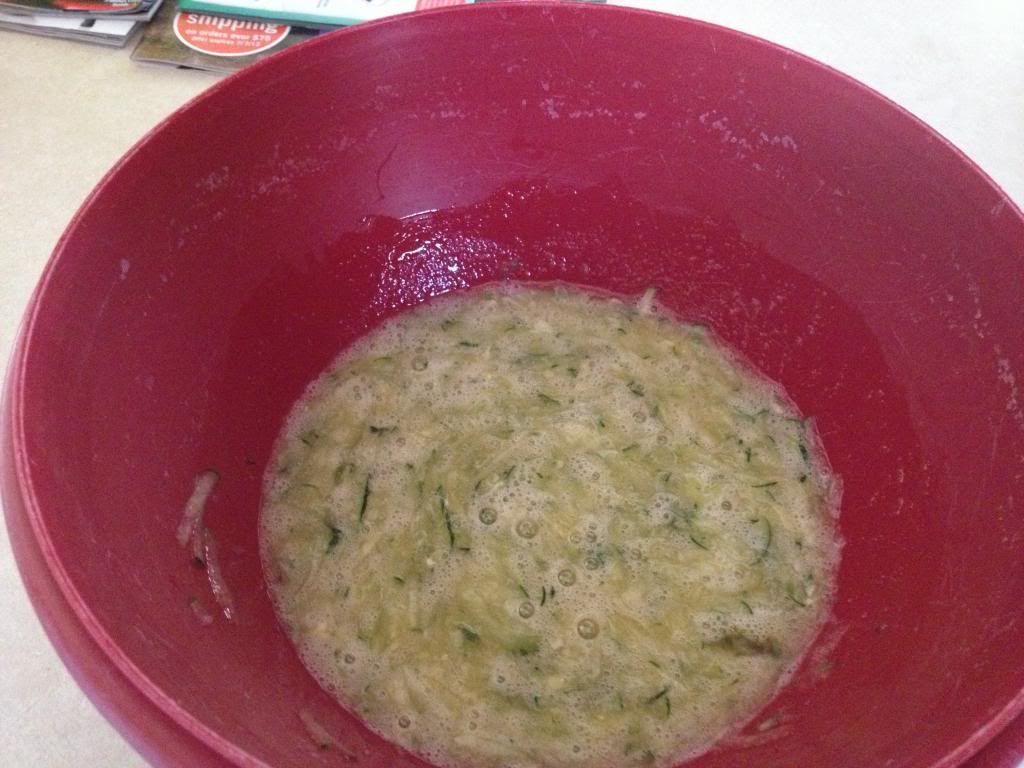
- Beat the egg in a medium bowl. Then add the sugar, oil, and vanilla. After washing your zucchini, you can grate it (skin and all) onto a piece of wax paper until you have enough, and then dump it in with the rest of the wet mixture. Stir it until well combined. Perhaps not the most appetizing to look at, but the end result will be tasty, I assure you!
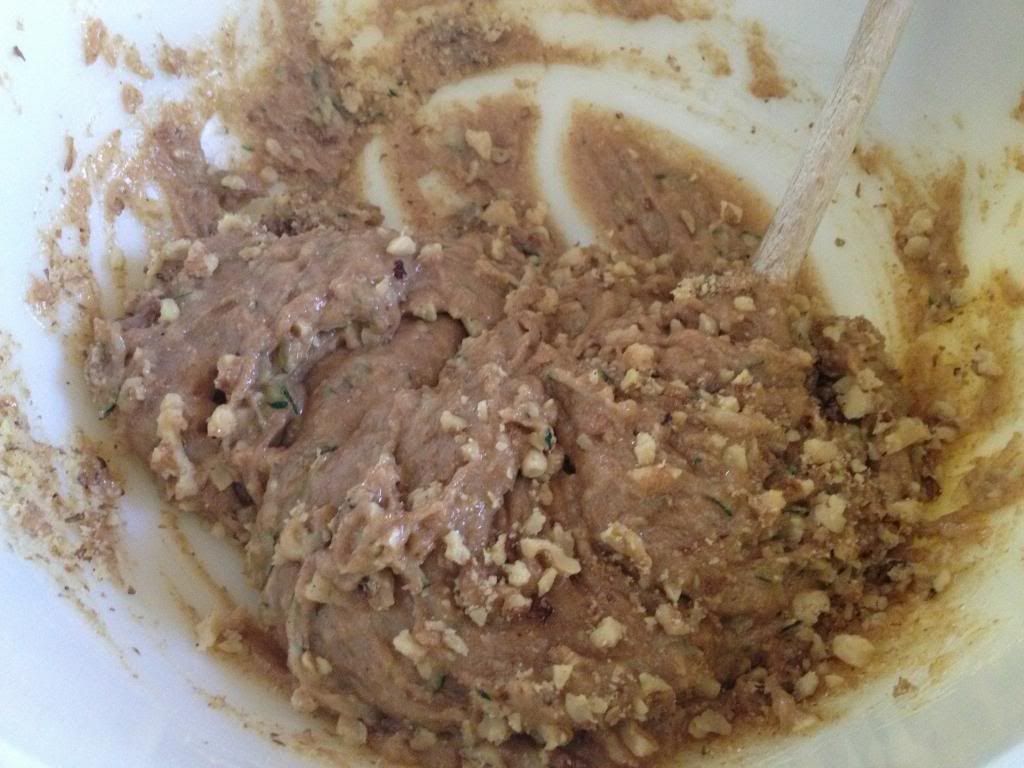
- Add the wet mixture to the bowl with the dry mixture, and stir it until everything is nice and moist. It’s okay if there are some lumps! Then you can fold in the walnuts you worked so hard to toast.
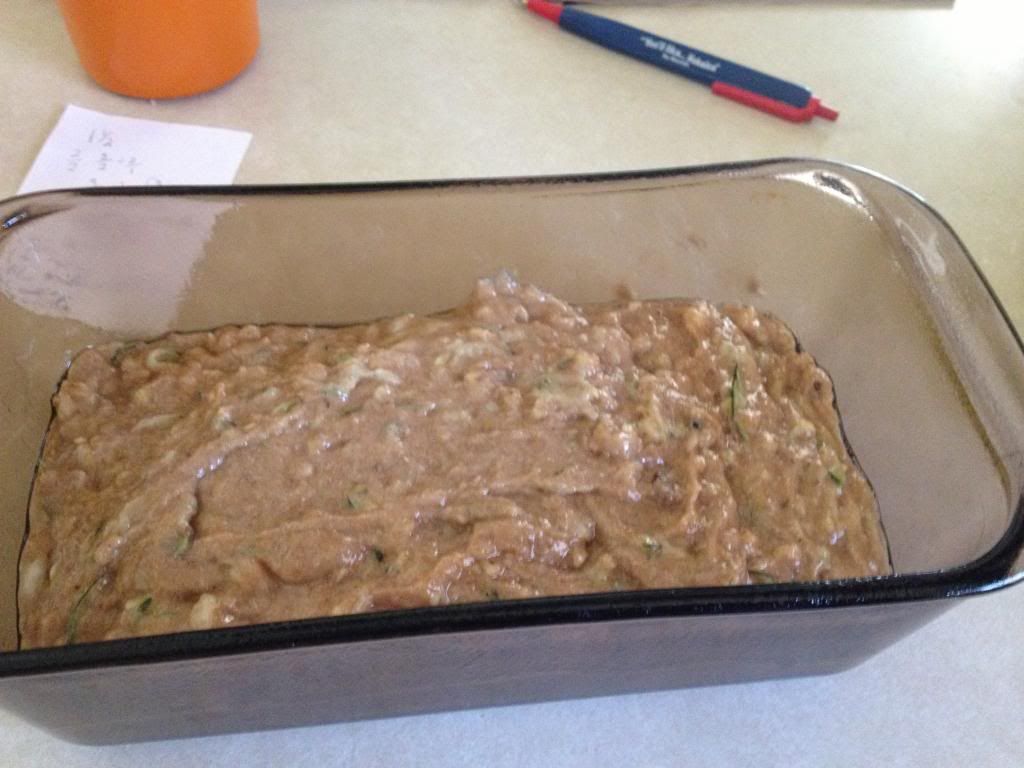
- Spray your loaf pan with cooking spray. A medium-sized pan should do the trick—mine was Pyrex 8.5”x4.5”x3” and worked just fine. Pour or otherwise coax with a spoon the batter into the loaf pan, and then put it in the oven to bake for 50-55 minutes.
- After 50 minutes, pull it out and perform the toothpick test. If you stick a toothpick in near the center and it comes out goop-free, you’re good to go. If there’s some stuff stuck to it, it’s back in the oven for a bit.
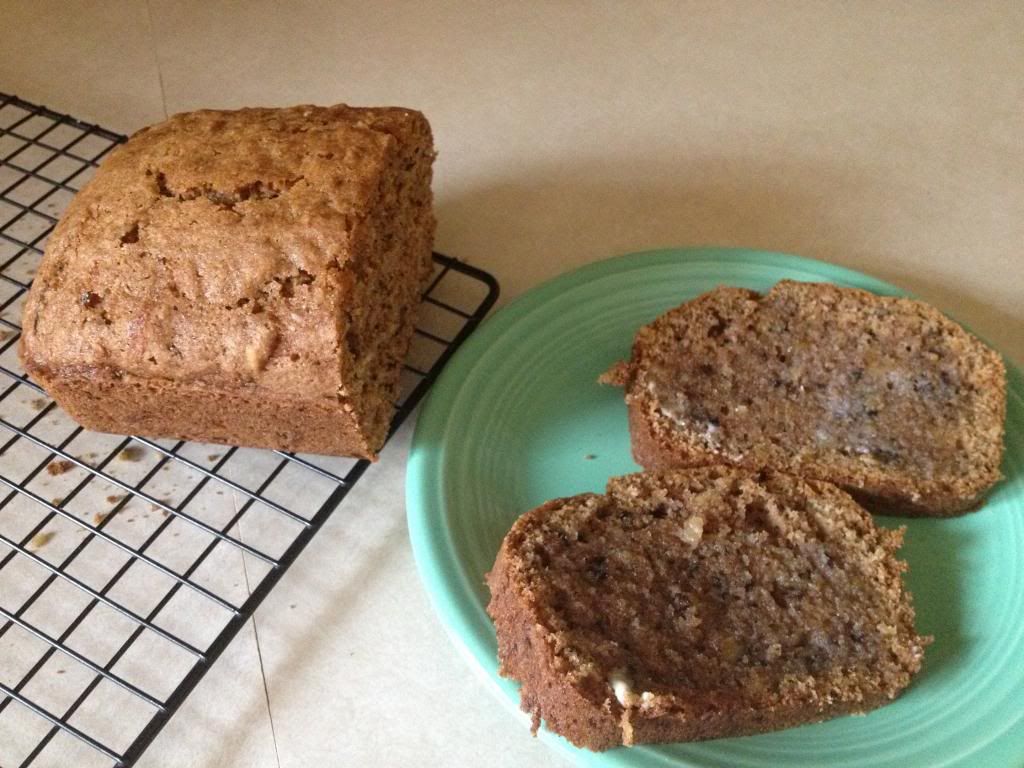
- Once the toothpick test has been passed, you can set the pan on a wire rack to cool. When it is cool to the touch, you can remove the bread (it might help to run a knife around the edges before trying to dump it out) and leave it to continue cooling on the rack. Slice and serve with butter melting over it, and wrap the rest up for midnight snacks!


2 comments:
Tried this recipe yesterday and it was a hit! Thanks Alyssa :) I changed a few things - used all white flour (no whole wheat on hand) and skipped the allspice for the same reason. Delicious!
Yay, I'm so glad you tried it and liked it! I think I'm going to make some tomorrow, too. :) Thanks so much for dropping us a comment--we love feedback. I hope you and the fam are enjoying the rest of your trip! :D
Post a Comment